App Inventor Micro:bit
Switch LEDs on and off with smartphone and Micro: bit
Micro:bit is a small, programmable computer that is designed to be easy to use for beginners. It has a variety of inputs and outputs, including a built-in Bluetooth module, which allows it to communicate wirelessly with other devices such as smartphones and tablets.
It is possible to control the LEDs on a Micro:bit using a smartphone via Bluetooth. Here’s a general outline of the steps you would need to take:
- Program the Micro:bit to act as a Bluetooth peripheral, so that it can be discovered and connected to by other devices.
- Create a smartphone app that can discover and connect to nearby Bluetooth devices, and then send commands to the Micro:bit to control the LEDs.
- Once the Micro:bit is connected to the smartphone, you can use the app to send commands to the Micro:bit to turn the LEDs on or off.
Purpose of this tutorial:
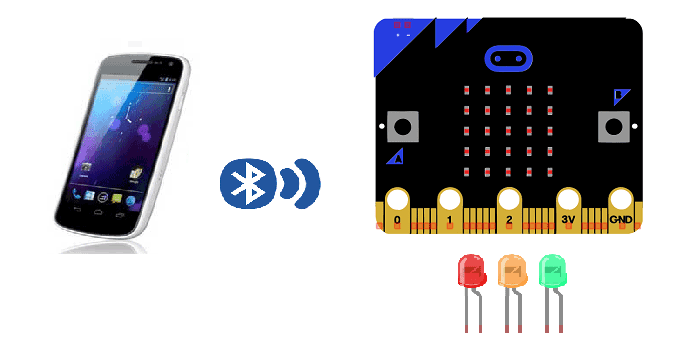
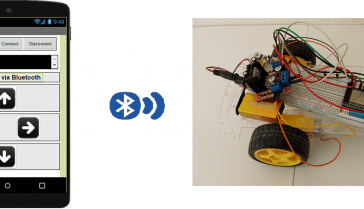
In this tutorial, we will create a system allowing LEDs to be turned on and off (by bluetooth) using the Micro:bit card and a smartphone.
We create two programs: a mobile application with App Inventor for the smartphone and a makecode program for the Micro:bit card.
Necessary components
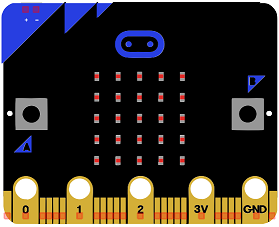
Micro:bit
Micro:bit is a small, programmable computer that is designed to be easy to use for beginners. It is developed by the Micro:bit Educational Foundation, a not-for-profit organization based in the UK. The Micro:bit was originally intended to be used as a tool for teaching computer science and programming in schools, but it has since been adopted by a wide range of users for a variety of different projects.
The Micro:bit is a small device, about the size of a credit card, that has a variety of inputs and outputs, including a 5×5 LED matrix, two programmable buttons, and a built-in accelerometer, compass, and thermometer. It also has a built-in Bluetooth module, which allows it to communicate wirelessly with other devices such as smartphones and tablets.
The Micro:bit can be programmed using a variety of languages, including Python and JavaScript, and can be used for a wide range of projects, from simple games to more advanced applications such as controlling robots and drones.
Micro:bit GPIO Card
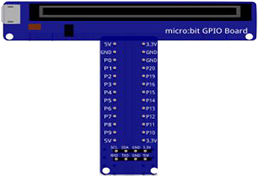
The micro:bit GPIO card is an expansion board for the micro:bit computer that adds additional input and output (I/O) pins, known as General Purpose Input/Output (GPIO) pins. These pins allow the micro:bit to connect to a wide variety of sensors, actuators, and other devices, providing more flexibility and functionality for projects and experiments. The GPIO card typically includes a number of different types of I/O pins, such as digital input/output pins, analog input pins, and PWM (pulse-width modulation) output pins. It also provides a breadboard area to connect electronic components to the micro:bit. With the GPIO card, the micro:bit can be used to control a wide range of devices such as motors, LEDs, sensors and more.
LEDs
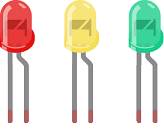
An LED (light-emitting diode) is a type of semiconductor device that emits light when an electric current is passed through it. LEDs are commonly used in a wide range of applications, such as indicator lights, traffic signals, automotive lights, and electronic displays. They are also used in more advanced applications, such as in lighting systems, medical devices, and fiber-optic communications.
Test plate

A test plate is a type of device used in robotics to test the functionality and performance of various components or systems. It is typically a physical platform or structure that is designed to hold and support various test items or devices, such as sensors, actuators, motors, or other types of mechanical or electrical components. Test plates can be used to simulate different environments or conditions, such as temperature, humidity, vibration, or other factors, in order to evaluate the performance of the components or systems being tested. They can also be used to perform a variety of diagnostic or diagnostic tests, such as stress testing, endurance testing, or other types of evaluations.
Connecting wires

Wires are used to transmit electrical signals and power to various components such as motors, sensors, and microcontrollers. It’s important to properly route and secure the wires to prevent tangles and damage. There are several methods for doing this, including using cable ties, clamps, and wire looms. It’s also a good idea to use different colors or labeling to identify the different wires and their functions. When connecting wires in a robot, it’s important to follow proper safety procedures, such as using the correct wire stripper and connectors, and wearing protective equipment such as gloves and safety glasses.
For mounting the Micro:bit card with LEDs you can see the following article: https://www.robotique.tech/robotics/traffic-light-with-microbit/
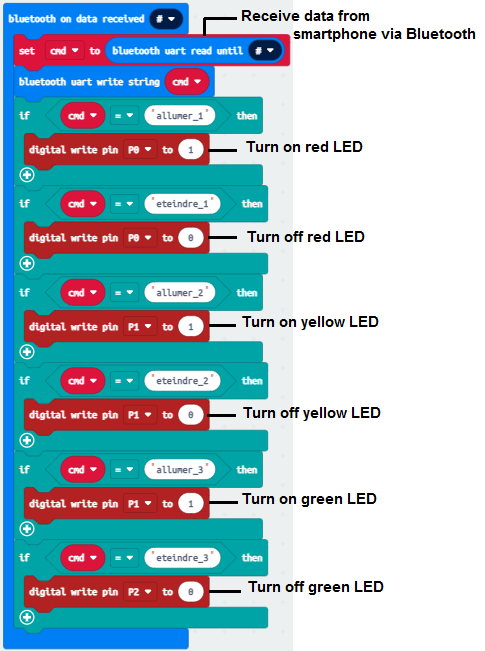
Programme makecode
Voici le programme makecode qui permet de connecter la carte Micro:bit au smartphone et de recevoir un message contenant l’ordre d’allumer ou éteindre les LEDs.
Creation of the application with App Inventor:
We are going to create a mobile application named ‘allumer_leds’ with App Inventor which lights up LEDs.
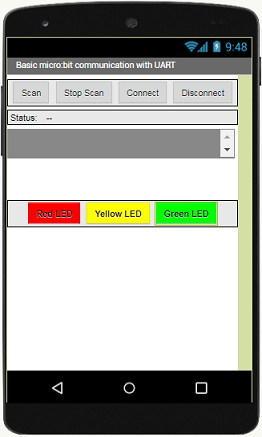
We propose to create the design of the application, with the following visual:
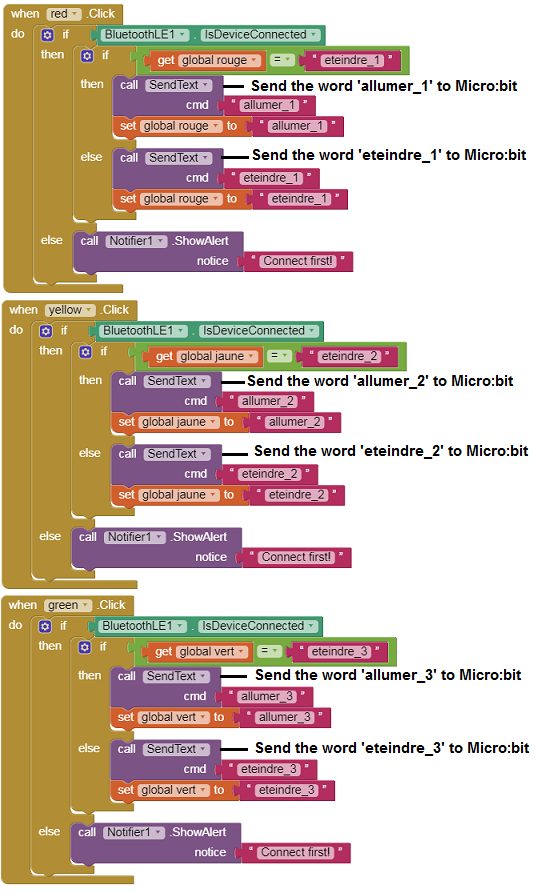
Programming with App Inventor
To program the application, App Inventor offers us to use the Blocks space, which allows you to create a program in the form of a block diagram. Very easy to use but requiring a little programming logic.
Here is the program of the application created in the Blocks area of the Inventor App:
Remark:
After installing the mobile application on your Smartphone, follow these steps to connect to the Micro:bit card:
- Click on the ‘scan‘ button
- After finding the Micro:bit card, Click on the ‘Stop Scan’ button
- Tap the name of the Micro:bit card
- Finally click on the ‘connect’ button
You can also see

0 commentaire
Leave a comment


Recent tutorials


Most viewed tutorials


Most commented tutorials


Scroll to Top