
Arduino TM1637 display
Display a number on the TM1637 display with Arduino
Displaying a number on a TM1637 display with Arduino is a simple task that can be achieved by using a library that provides functions to control the display. The library can be downloaded from the internet and installed in the Arduino development environment.
The basic steps to display a number on a TM1637 display with Arduino are:
- Connect the TM1637 display to the Arduino board. The TM1637 display typically has four pins: VCC, GND, DIO, and CLK. The VCC and GND pins are connected to a power source (usually 3.3V or 5V), the DIO pin is connected to a digital I/O pin on the Arduino board, and the CLK pin is connected to another digital I/O pin on the Arduino board.
- Install the TM1637 library for Arduino and include it in the code.
- Initialize the display by creating an instance of the TM1637Display class and passing the pin numbers for the DIO and CLK pins.
- Use the functions provided by the library to set the number to be displayed on the display.
- Use the showNumberDec() function to display the number on the TM1637 display.
- Optionally, use the setBrightness() function to adjust the brightness of the display.
Purpose of this tutorial:
In this tutorial we will see how to display the number 10 on the TM1637 display with Arduino.
Necessary components
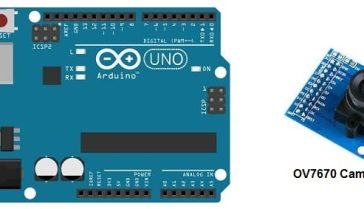
Arduino UNO

The Arduino UNO is a microcontroller board based on the ATmega328P. It has 14 digital input/output pins, 6 analog inputs, a 16 MHz quartz crystal, a USB connection, a power jack, an ICSP header, and a reset button. It is the most popular and widely used board among the Arduino boards.
The Arduino UNO can be programmed using the Arduino programming language, which is based on C++. It uses a simple and intuitive programming environment, making it easy for beginners to get started with microcontroller programming.
The Arduino UNO can be connected to various sensors and actuators to control different devices and perform different tasks. For example, it can be used to control motors, read data from sensors, display information on an LCD screen, and communicate with other devices via serial communication protocols such as I2C and SPI.
The Arduino UNO can also be powered by a USB cable or an external power supply, making it easy to use in a wide range of projects and applications. It’s compatible with a wide range of shields (expansion boards) that adds functionality to the board, such as Ethernet, WiFi, and Bluetooth, and it’s widely supported by a strong and active community, which provides a lot of tutorials, examples and libraries to help users to get the most of the board.
TM1637 display
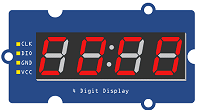
The TM1637 display is a type of LED display module that can be used to display digits and some characters. It is a 4-digit 7-segment LED display that can be controlled by a microcontroller, such as an Arduino. The TM1637 display module typically includes a LED driver IC, a key scan IC, and a common anode 4-digit 7-segment LED display.
The TM1637 display module has four pins: VCC, GND, DIO, and CLK. The VCC and GND pins are connected to a power source (usually 3.3V or 5V), the DIO pin is a bidirectional data pin that is connected to a digital I/O pin on the microcontroller, and the CLK pin is connected to a digital I/O pin on the microcontroller.
The TM1637 display can be controlled by using a library that provides functions to set the brightness, set the display content, and control the display. The library can be downloaded from the internet, and it can be installed in the Arduino development environment.
The TM1637 display can be used for a variety of applications, such as displaying the time, temperature, or other numerical data. It can also be used as a part of the stopwatch, where the elapsed time can be displayed on the 4-digit 7-segment LED display.
connecting wires

Connecting wires are used to connect various components in an electronic circuit. They allow for the transfer of electricity, data, or signals between different devices and components.
When connecting wires to an Arduino or other microcontroller, it is important to pay attention to the correct pinout. The pinout refers to the arrangement of pins on the microcontroller and the corresponding function of each pin. The Arduino pinout can be found in the documentation provided by the manufacturer, or in various resources available online.
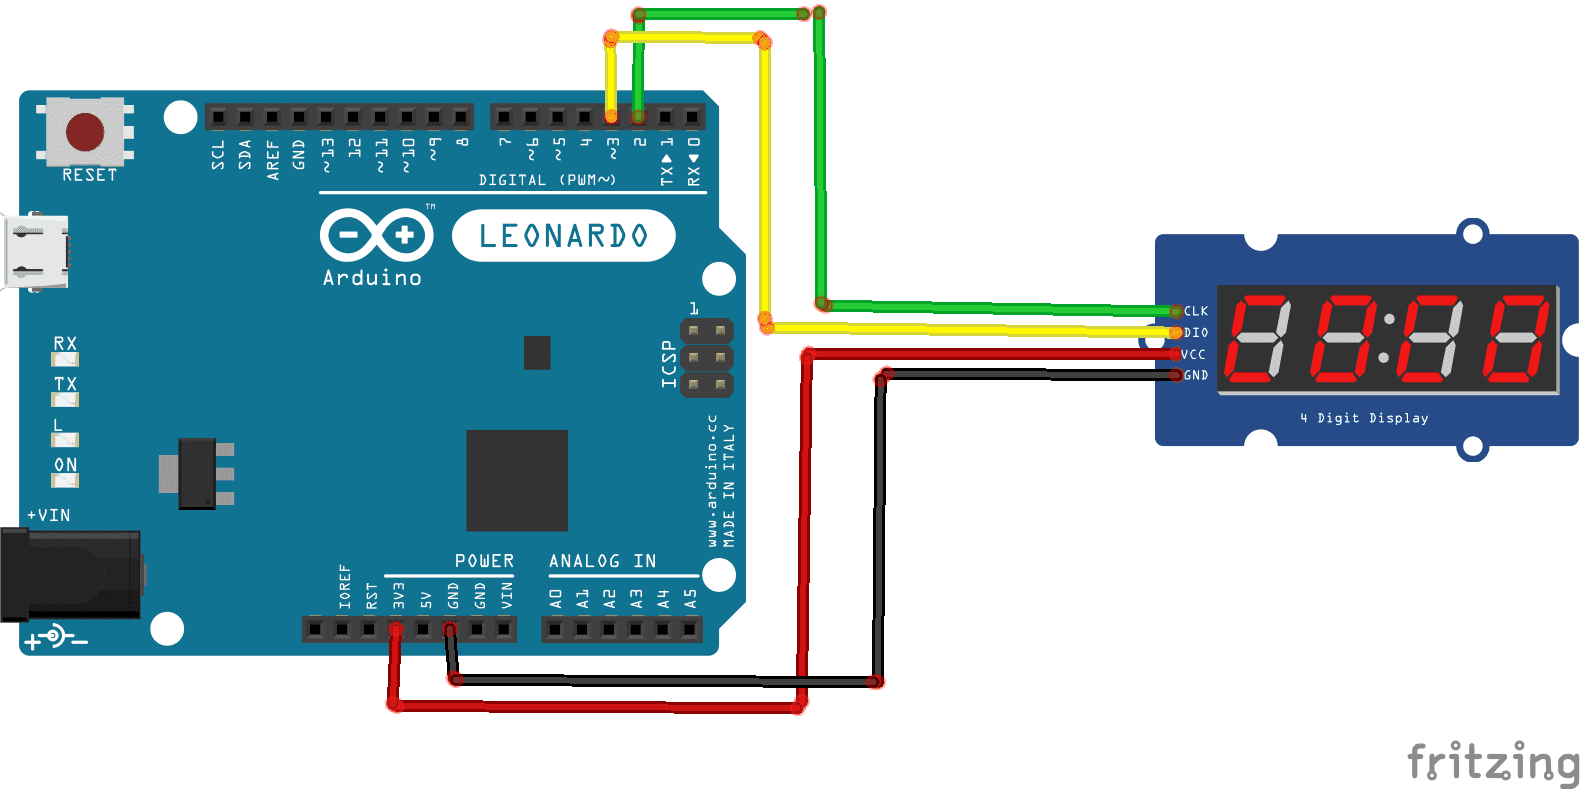
Mounting
To make the assembly, we can connect :
- VCC pin of display to 3.3V pin of Arduino.
- GND pin of display to GND pin of Arduino.
- DIO pin of display to pin 3 of Arduino
- CLK pin of display to pin 2 of Arduino
Program
Here is the program to display the number 10 on the TM1637 display with Arduino.
Note: you must import the TM1637 .
|
1 2 3 4 5 6 7 8 9 10 11 12 13 14 15 16 17 |
#include <TM1637Display.h> // Module connection pins (Digital Pins) #define CLK 2 #define DIO 3 TM1637Display display(CLK, DIO); void setup() { display.setBrightness(0x0f); display.showNumberDec(10); //Display 10 in TM1736 display } void loop() { } |
You can also see

0 commentaire
Leave a comment


Recent tutorials


Most viewed tutorials


Most commented tutorials


Scroll to Top