Micro:bit
Programming with the Micro:bit card
There are several ways to program the Micro:bit card, including:
- Microsoft MakeCode: MakeCode is an online programming environment that allows you to create programs for the Micro:bit card using a drag-and-drop interface. You can use MakeCode to create simple programs that control the Micro:bit‘s LEDs, buttons, and other features.
- Python: Micro:bit support python as a programming language, and it’s a powerful and versatile programming language that can be used to create complex programs for the Micro:bit card. You can use Python to create programs that control the Micro:bit‘s LEDs, buttons, and other features, and also to interact with sensors and other external devices.
- MicroPython: MicroPython is a version of Python that has been optimized for microcontrollers like the Micro:bit card. You can use MicroPython to write programs that run on the Micro:bit card’s microcontroller.
- Blockly: Blockly is a visual programming language that allows you to create programs for the Micro:bit card by dragging and dropping blocks of code.
- C++: Micro:bit also support C++ as a programming language. you can use C++ to create programs that control the Micro:bit‘s LEDs, buttons, and other features, and also to interact with sensors and other external devices.
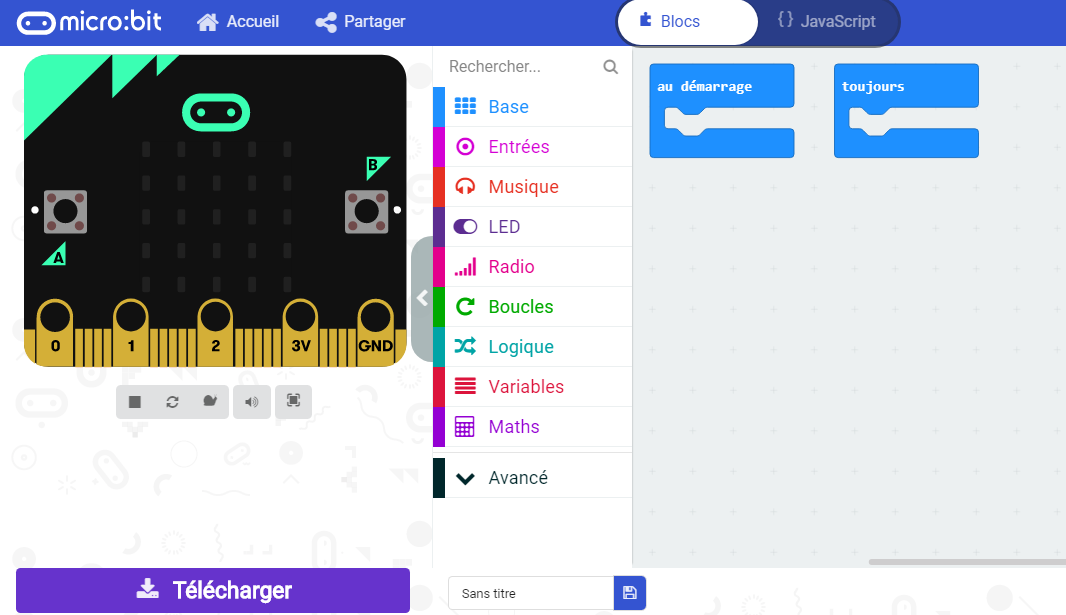
The micro: bit card is easily programmed in a simple editing environment via a website. The languages used by the editors are: JavaScript, Microsoft Block, Microsoft TouchDevelop and Python. The user creates and writes the program on the editor of his choice (in this tutorial we will use the Makecode), and sends it to a remote server which will compile it to be then downloadable by the user and transferred on the Micro: bit via a USB cable or via Bluetooth. The programming then goes through three stages:
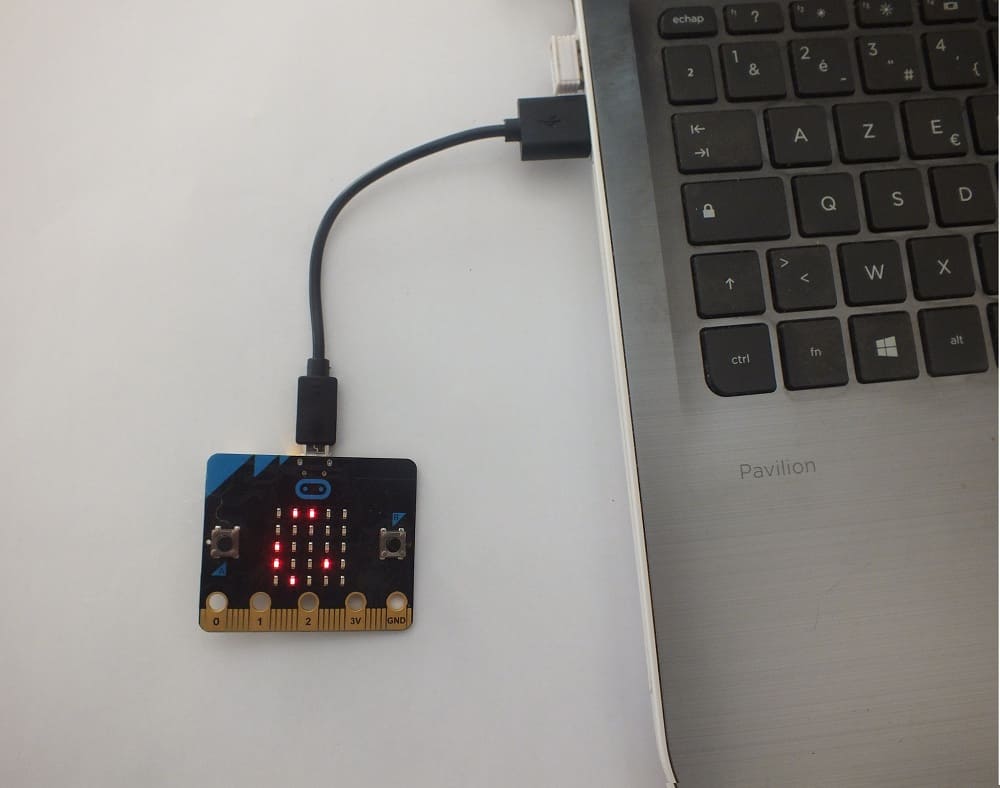
The first is to connect the micro: bit card to the computer using a micro USB cable. This done, the card will appear on your computer as a disk called “MICROBIT” which is not a normal USB disk.
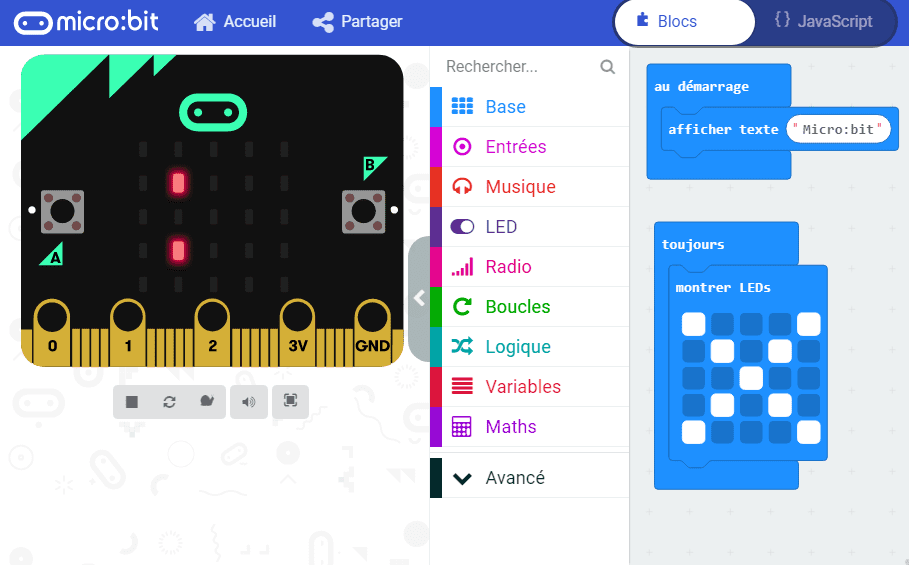
The second would be to write the program with Makecode, that is, write the micro: bit code: drag and drop a few blocks.
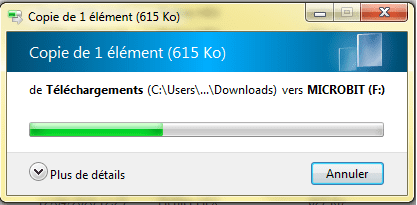
The third and last step is to send the program to the micro: bit card by clicking on the “Download” button in the Makecode editor, which allows you to download a “hex” file which is a compact format. of your program that your micro: bit can read. Once the “hex” file has been downloaded, it is copied to the micro: bit card like copying a file to a USB stick. In Windows, you can click with the right mouse button and choose “Send to MICROBIT”.
You can also see

0 commentaire
Leave a comment


Recent tutorials


Most viewed tutorials


Most commented tutorials


Scroll to Top