App Inventor Arduino
Send a message from smartphone to Arduino
Arduino is an open-source electronics platform based on simple software and hardware. It can be used to control a wide variety of devices, including LEDs, motors, and sensors. Bluetooth is a wireless communication technology that allows devices to connect to each other over short distances. Arduino boards can be used with Bluetooth modules to enable wireless communication between devices. This can be used for a variety of applications, such as controlling a robot or sending sensor data wirelessly to a computer or phone.
Here is an example of sending a message from a smartphone (running Android) to an Arduino via Bluetooth:
- On the smartphone, ensure that Bluetooth is enabled and scan for available devices.
- On the Arduino, set up the Bluetooth module (such as a HC-05 or HC-06) and make it discoverable.
- Pair the smartphone and the Arduino via Bluetooth.
- On the smartphone, use the serial communication API to send a message to the Arduino‘s Bluetooth module.
- On the Arduino, use the serial communication library to receive the message and process it as desired.
Please note that this is a basic example and additional coding may be required depending on the specific use case and hardware being used.
Purpose of this tutorial:
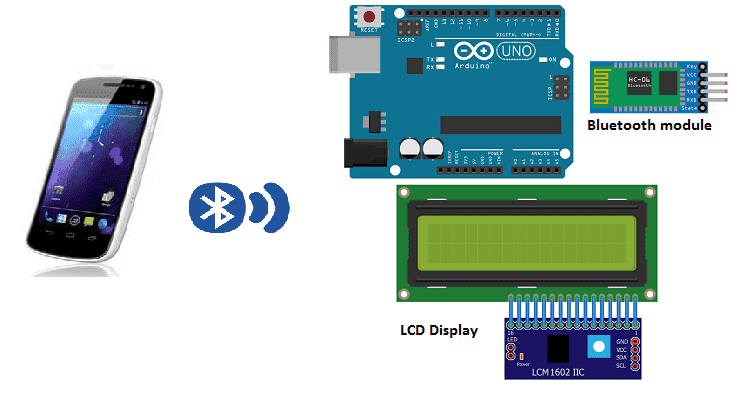
In this tutorial we will see how to send a message from the smarthpone to the Arduino board via bluetooth. The received message will be displayed in the I2C 160A LCD display
We will create two programs: a mobile application with App Inventor for the smartphone and a program for the Arduino board.
Necessary components
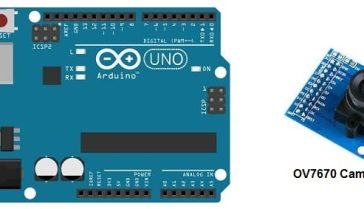
Arduino UNO

The Arduino UNO is a popular model of the Arduino open-source electronics platform. It is based on the ATmega328 microcontroller and has 14 digital input/output pins, 6 analog inputs, a 16 MHz quartz crystal, a USB connection, and a power jack. The UNO also has a built-in USB-to-serial converter, which allows it to be programmed and communicate with a computer via a USB cable. The Arduino UNO can be used for a wide variety of projects, including controlling LEDs, motors, and sensors, as well as communicating with other devices via Bluetooth, WiFi, or other wireless technologies. It’s an easy-to-use board that can be programmed using the Arduino IDE, and is a good option for beginners and experts alike.
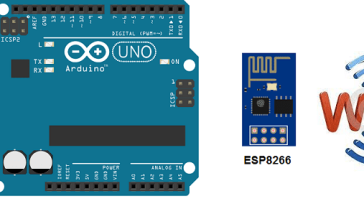
HC-06 Bluetooh module
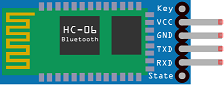
The HC-06 Bluetooth module is a small, low-cost device that can be used to add Bluetooth functionality to a wide range of electronic devices. It is a slave-only device, meaning it can only connect to other Bluetooth devices, and cannot initiate connections itself. It is commonly used in DIY projects, such as adding wireless control to a robot or remote control to a device. It can be easily interfaced with microcontrollers such as Arduino and Raspberry Pi, and communicates via serial communication.
LCD I2C 160A Display
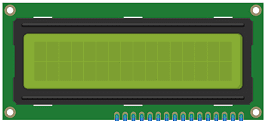
An LCD I2C 160A Display is a type of liquid crystal display (LCD) that uses the I2C communication protocol and is 160×128 pixels in resolution.
I2C (Inter-Integrated Circuit) is a communication protocol that allows multiple devices to communicate with a single controller using only two wires. It is a more efficient method of communication compared to using multiple wires for data and control.
The display is controlled by an I2C controller that is built into the display, which communicates with an external microcontroller such as an Arduino board. The microcontroller sends commands and data to the display through the I2C interface, which controls what is displayed on the screen.
Test plate

A test plate is a type of device used in robotics to test the functionality and performance of various components or systems. It is typically a physical platform or structure that is designed to hold and support various test items or devices, such as sensors, actuators, motors, or other types of mechanical or electrical components. Test plates can be used to simulate different environments or conditions, such as temperature, humidity, vibration, or other factors, in order to evaluate the performance of the components or systems being tested. They can also be used to perform a variety of diagnostic or diagnostic tests, such as stress testing, endurance testing, or other types of evaluations.
Connecting wires

Wires are used to transmit electrical signals and power to various components such as motors, sensors, and microcontrollers. It’s important to properly route and secure the wires to prevent tangles and damage. There are several methods for doing this, including using cable ties, clamps, and wire looms. It’s also a good idea to use different colors or labeling to identify the different wires and their functions. When connecting wires in a robot, it’s important to follow proper safety procedures, such as using the correct wire stripper and connectors, and wearing protective equipment such as gloves and safety glasses.
For the assembly you can see this article:
https://www.robotique.tech/robotics/connect-arduino-to-smartphone-via-bluetooth/
Program
Here is the program which allows you to connect the Arduino board to the smartphone and to receive messages by bluetooth.
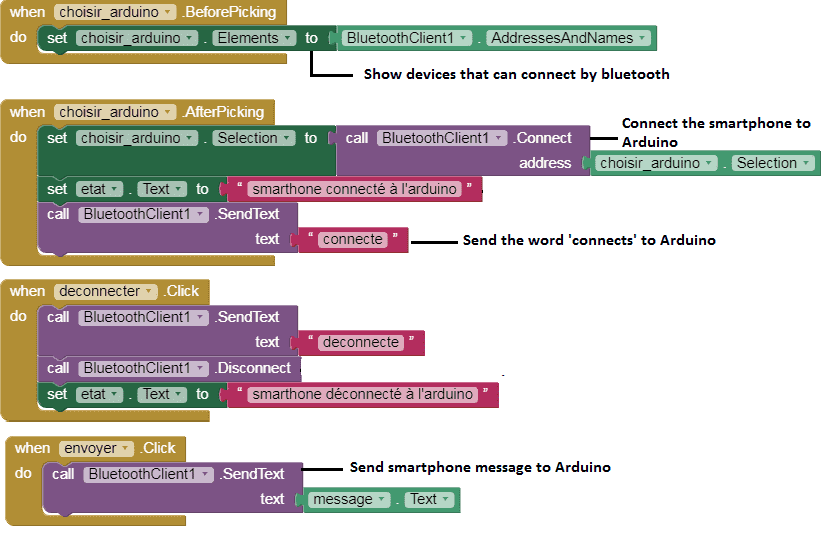
The following is displayed on the LCD display:
-
The word ‘connects’ if the Micro: bit card is connected to the smartphone and the letter ‘disconnects’ otherwise.
-
The message received from the smartphone
|
1 2 3 4 5 6 7 8 9 10 11 12 13 14 15 16 17 18 19 20 21 22 23 |
#include <SoftwareSerial.h> #include <LiquidCrystal_I2C.h> LiquidCrystal_I2C lcd(0x27, 20, 4); SoftwareSerial hc06(2,3); String message=""; void setup(){ lcd.init(); //Initialize Serial Monitor //Initialize Bluetooth Serial Port hc06.begin(9600); } void loop(){ lcd.backlight(); lcd.setCursor(0, 0); //Write data from HC06 to Serial Monitor if (hc06.available()){ message+=char(hc06.read()); lcd.clear(); lcd.print(message); //Display the message in the LCD display} else message=""; } |
Creation of the application with App Inventor:
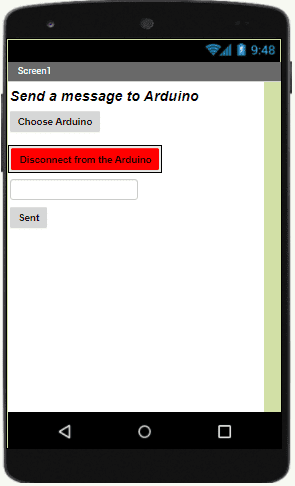
We create a mobile application named ‘send_microbit’ with App Inventor which allows you to send a message from the smartphone to the Arduino board.
We propose to design the application, with the following visual:
Programming with App Inventor
To program the application, App Inventor offers us to use the Blocks space, which allows you to create a program in the form of a block diagram. Very easy to use but requiring a little programming logic.
Here is the program of the application created in the Blocks area of the Inventor App:
You can also see

0 commentaire
Leave a comment


Recent tutorials


Most viewed tutorials


Most commented tutorials


Scroll to Top