ESP32 MAX7219 display
Display a character on the MAX7219 display with ESP32
The MAX7219 display can be used in conjunction with an ESP32 microcontroller to control a 7-segment LED display or an 8×8 LED matrix. The ESP32 is a powerful, low-cost microcontroller with built-in WiFi and Bluetooth capabilities. It can be used to control the MAX7219 display via a 3-wire serial interface, which consists of Data, Clock, and Load pins.
To use the MAX7219 display with the ESP32, you will need to install the MAX7219 library for the ESP32. Once the library is installed, you can use the provided functions to control the display, such as setting the brightness, displaying a specific digit, or creating custom characters.
You will also need to connect the ESP32 and the MAX7219 display using wires and connectors. The ESP32‘s digital output pins will be connected to the Data, Clock, and Load pins on the MAX7219 display. Once the connections are made and the code is uploaded, you will be able to control the display using the ESP32.
It’s important to note that the ESP32 runs on 3.3V and the MAX7219 operates on 5V, so you need to use a level shifter or a voltage divider circuit to avoid damaging the ESP32.
Purpose of this tutorial:
In this tutorial we will see how to display the letter ‘A’ on the MAX7219 display with the ESP32 card.
Necessary components
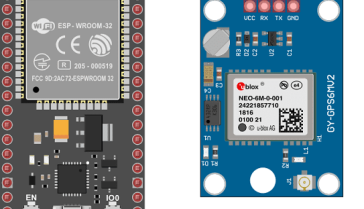
ESP32
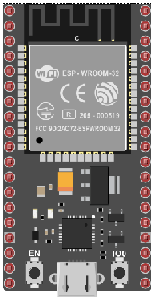
An ESP32 card is a type of development board that is based on the ESP32 microcontroller. The ESP32 is a powerful, low-cost microcontroller with built-in WiFi and Bluetooth capabilities. It is commonly used for IoT projects, home automation, and other applications that require wireless connectivity.
An ESP32 card typically includes the ESP32 microcontroller, flash memory, a USB interface for programming and power, and various other components, such as voltage regulators, oscillators, and headers for connecting external devices.
The ESP32 card can be programmed using the Arduino IDE, which supports C and C++ programming languages and has a simple and user-friendly interface. There are also several libraries available for the ESP32, which provide additional functionality and ease of use.
ESP32 cards are available from various manufacturers, with different features and capabilities depending on the specific model. Some ESP32 cards include additional components such as a display, sensors, or a battery management system.
By using an ESP32 card, you can easily create wireless connected devices that can be controlled remotely, and the ESP32‘s low power consumption makes it ideal for battery-powered applications.
MAX7219 display
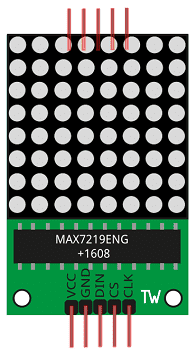
The MAX7219 is a serial input/output common-cathode display driver that can be used to drive a 7-segment LED display, or an 8×8 LED matrix. It is a compact and versatile integrated circuit that allows you to control multiple digits with a single digital output pin. The MAX7219 can interface with a microcontroller, such as an Arduino, via a 3-wire serial interface, which consists of Data, Clock, and Load pins. The MAX7219 also has built-in features such as a BCD decoder, a multiplex scan circuitry, and a digit driver. It requires an external power supply of 5V and can drive up to 8 digits, with a maximum current of 150mA per segment. The MAX7219 library can be used to control the MAX7219 display with the ESP32, it’s easy to use and have a lot of functionality.
Test plate

A test plate for Arduino is a type of test plate that can be used in conjunction with an Arduino microcontroller to automate experiments or tests. The test plate typically contains multiple wells or compartments that can hold samples or test solutions, and is designed to interface with the Arduino’s digital inputs and outputs.
Connecting wires

Wires in a robotic system are used to connect and transmit electrical signals between different components of the robot. These components can include sensors, actuators, motors, and the microcontroller, such as an Arduino. The wires in a robotic system are typically made of copper and are insulated to prevent electrical interference and short circuits.
The type of wires used in a robotic system depends on the specific application and requirements of the robot. For example, a robot that requires high-current power transmission may use thicker, high-gauge wires, while a robot that requires a high degree of flexibility and movement may use thinner, more flexible wires.
Wires in a robotic system can be used to transmit power, control signals, and data between the different components of the robot. They can also be used to connect the robot to external devices, such as a computer or a power source. The proper use of wires is crucial for the robot to function properly, and a bad wiring can cause malfunction, safety hazards, and even damage to the equipment.
It is important to use the right type of wire for the right application, and it is also important to keep the wires organized and secure to prevent them from getting tangled, damaged, or disconnected.
Mounting
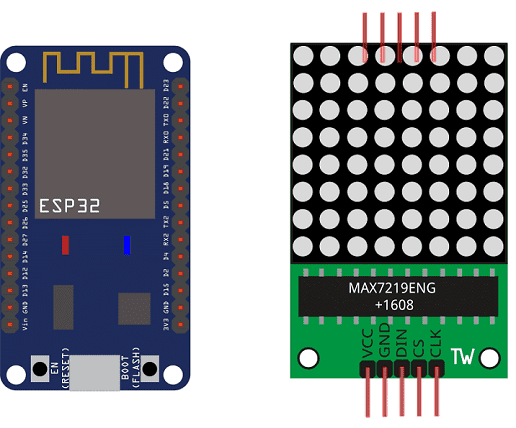
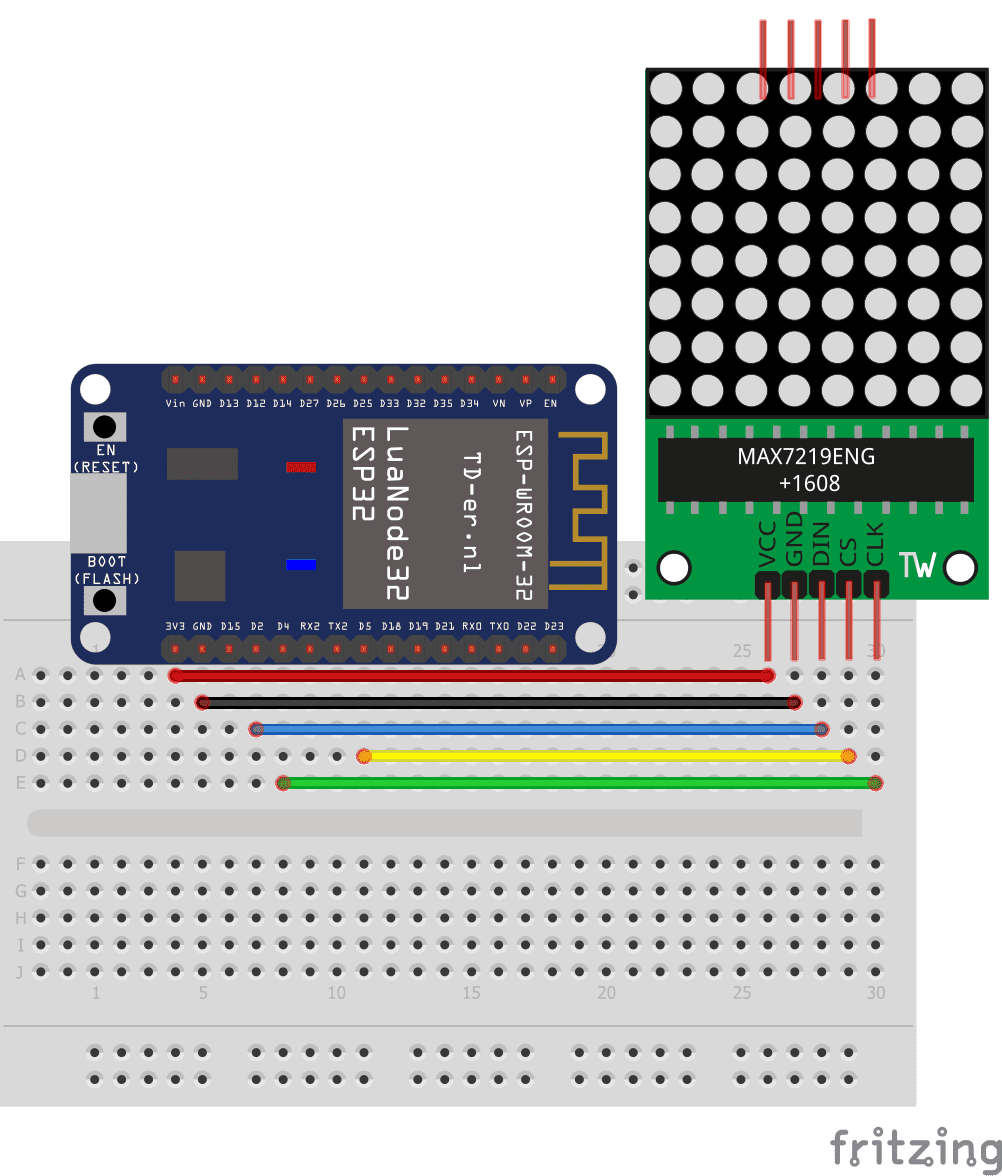
To perform the assembly, we connect:
-
the VCC pin of the display to the 3.3V pin of the ESP32
-
the GND pin of the display to the GND pin of the ESP32
-
pin CS of the display to pin D5 of the ESP32
-
the DIN pin of the display to pin D2 of the ESP32
-
the CLK pin of the display to pin D4 of the ESP32
Micropython program
Here is the program which displays the leeter ‘A’ on the MAX7219 display.
Note: it import the library max7219.py.
|
1 2 3 4 5 6 7 |
import max7219 from machine import Pin, SPI spi = SPI(1, baudrate=10000000, polarity=1, phase=0, sck=Pin(4), mosi=Pin(2)) ss = Pin(5, Pin.OUT) display = max7219.Matrix8x8(spi, ss, 1) display.text('A',1,0,1) #Display letter 'A' display.show() |
You can also see

0 commentaire
Leave a comment


Recent tutorials


Most viewed tutorials


Most commented tutorials


Scroll to Top