To control a DC motor with an Arduino and a relay, you will need to connect the relay to the Arduino using a digital output pin. The relay acts as a switch that can be controlled by the Arduino to turn the motor on and off.
- Connect the motor to the relay‘s normally open (NO) and common (COM) terminals.
- Connect the relay‘s control terminal to a digital pin on the Arduino.
- In the Arduino code, use the digitalWrite() function to set the relay‘s control pin to HIGH or LOW to turn the motor on and off.
It’s also important to note that a relay is an electromechanical device that is controlled by an electric current, and typically requires more current than an Arduino can provide. To avoid damaging the Arduino, you will need to use an external power source to provide power to the relay and the motor.
If you want to control the speed of the motor you can use a PWM pin and the analogWrite() function. With this method you can change the duty cycle of the pin, and that will change the speed of the motor.
Purpose of this tutorial:
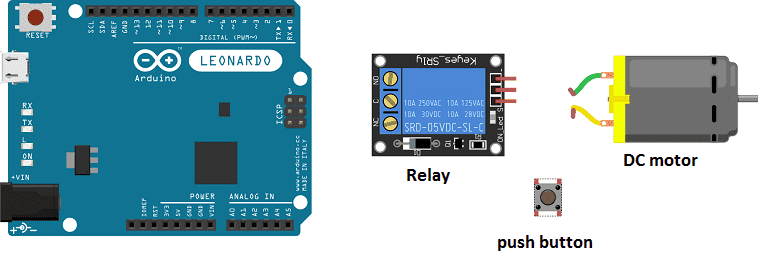
In this tutorial we will order a DC motor by the Arduino board:
1- When we press the push button, the motor turns
2- When we release the push button, the motor stops.
Necessary components
Arduino UNO

The Arduino UNO is a microcontroller board based on the ATmega328P. It has 14 digital input/output pins, 6 analog inputs, a 16 MHz quartz crystal, a USB connection, a power jack, an ICSP header, and a reset button. It is the most popular and widely used board among the Arduino boards.
The Arduino UNO can be programmed using the Arduino programming language, which is based on C++. It uses a simple and intuitive programming environment, making it easy for beginners to get started with microcontroller programming.
The Arduino UNO can be connected to various sensors and actuators to control different devices and perform different tasks. For example, it can be used to control motors, read data from sensors, display information on an LCD screen, and communicate with other devices via serial communication protocols such as I2C and SPI.
The Arduino UNO can also be powered by a USB cable or an external power supply, making it easy to use in a wide range of projects and applications. It’s compatible with a wide range of shields (expansion boards) that adds functionality to the board, such as Ethernet, WiFi, and Bluetooth, and it’s widely supported by a strong and active community, which provides a lot of tutorials, examples and libraries to help users to get the most of the board.
5V DC moteur
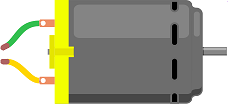
A 5V DC motor is a type of DC motor that operates at a voltage of 5V. These motors are typically small and low-power, and are commonly used in small projects and hobby applications. They are easy to control with microcontrollers like the Arduino, as the voltage required to drive the motor is within the range of most microcontroller’s output voltage.
You can control the speed of the 5V DC motor using Pulse Width Modulation (PWM) which is a technique used to vary the average power delivered to the motor by modulating the width of the pulses in a digital signal. You can use the analogWrite() function in Arduino to control the speed of the motor.
relay

A relay is an electrically operated switch that can be used to control a 5V DC motor. The relay uses a small amount of electrical current to control a larger current flowing to the motor. It typically consists of an electromagnet that is used to open or close the switch, allowing the current to flow to the motor. The 5V DC motor can be connected to the relay through the normally open or normally closed contacts. The relay can be controlled by a microcontroller or other control circuit, which can be used to turn the motor on or off, or to control its speed or direction.
push button
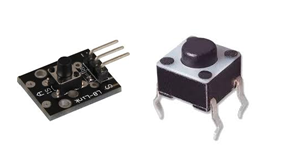
A push button is a type of switch that is activated by pressing it. It is commonly used in electronic devices, control panels, and other applications where a user needs to initiate an action or give a command. Push buttons come in different sizes, shapes, and colors, and can be designed to be momentary (meaning they only stay in the on position as long as they are being pressed) or latching (meaning they stay in the on position after being pressed until they are pressed again to turn off). They can also be illuminated or non-illuminated. They can be used to control the relay which can then control the 5V DC motor as well as other electronic devices.
connecting wires

Connecting wires are used to connect various components in an electronic circuit. They allow for the transfer of electricity, data, or signals between different devices and components.
When connecting wires to an Arduino or other microcontroller, it is important to pay attention to the correct pinout. The pinout refers to the arrangement of pins on the microcontroller and the corresponding function of each pin. The Arduino pinout can be found in the documentation provided by the manufacturer, or in various resources available online.
test plate

A test plate, also known as a test jig, is a device used to test electronic circuits and components. It is a board or plate that has been designed to hold and connect various components and devices in a specific configuration, allowing for the easy testing and measurement of their performance.
A test plate can be used to test various types of electronic circuits and components, such as microcontrollers, sensors, and actuators. It typically includes connectors and sockets for connecting wires, power supply and measurement devices such as multimeters, oscilloscopes, and power supplies.
Mounting
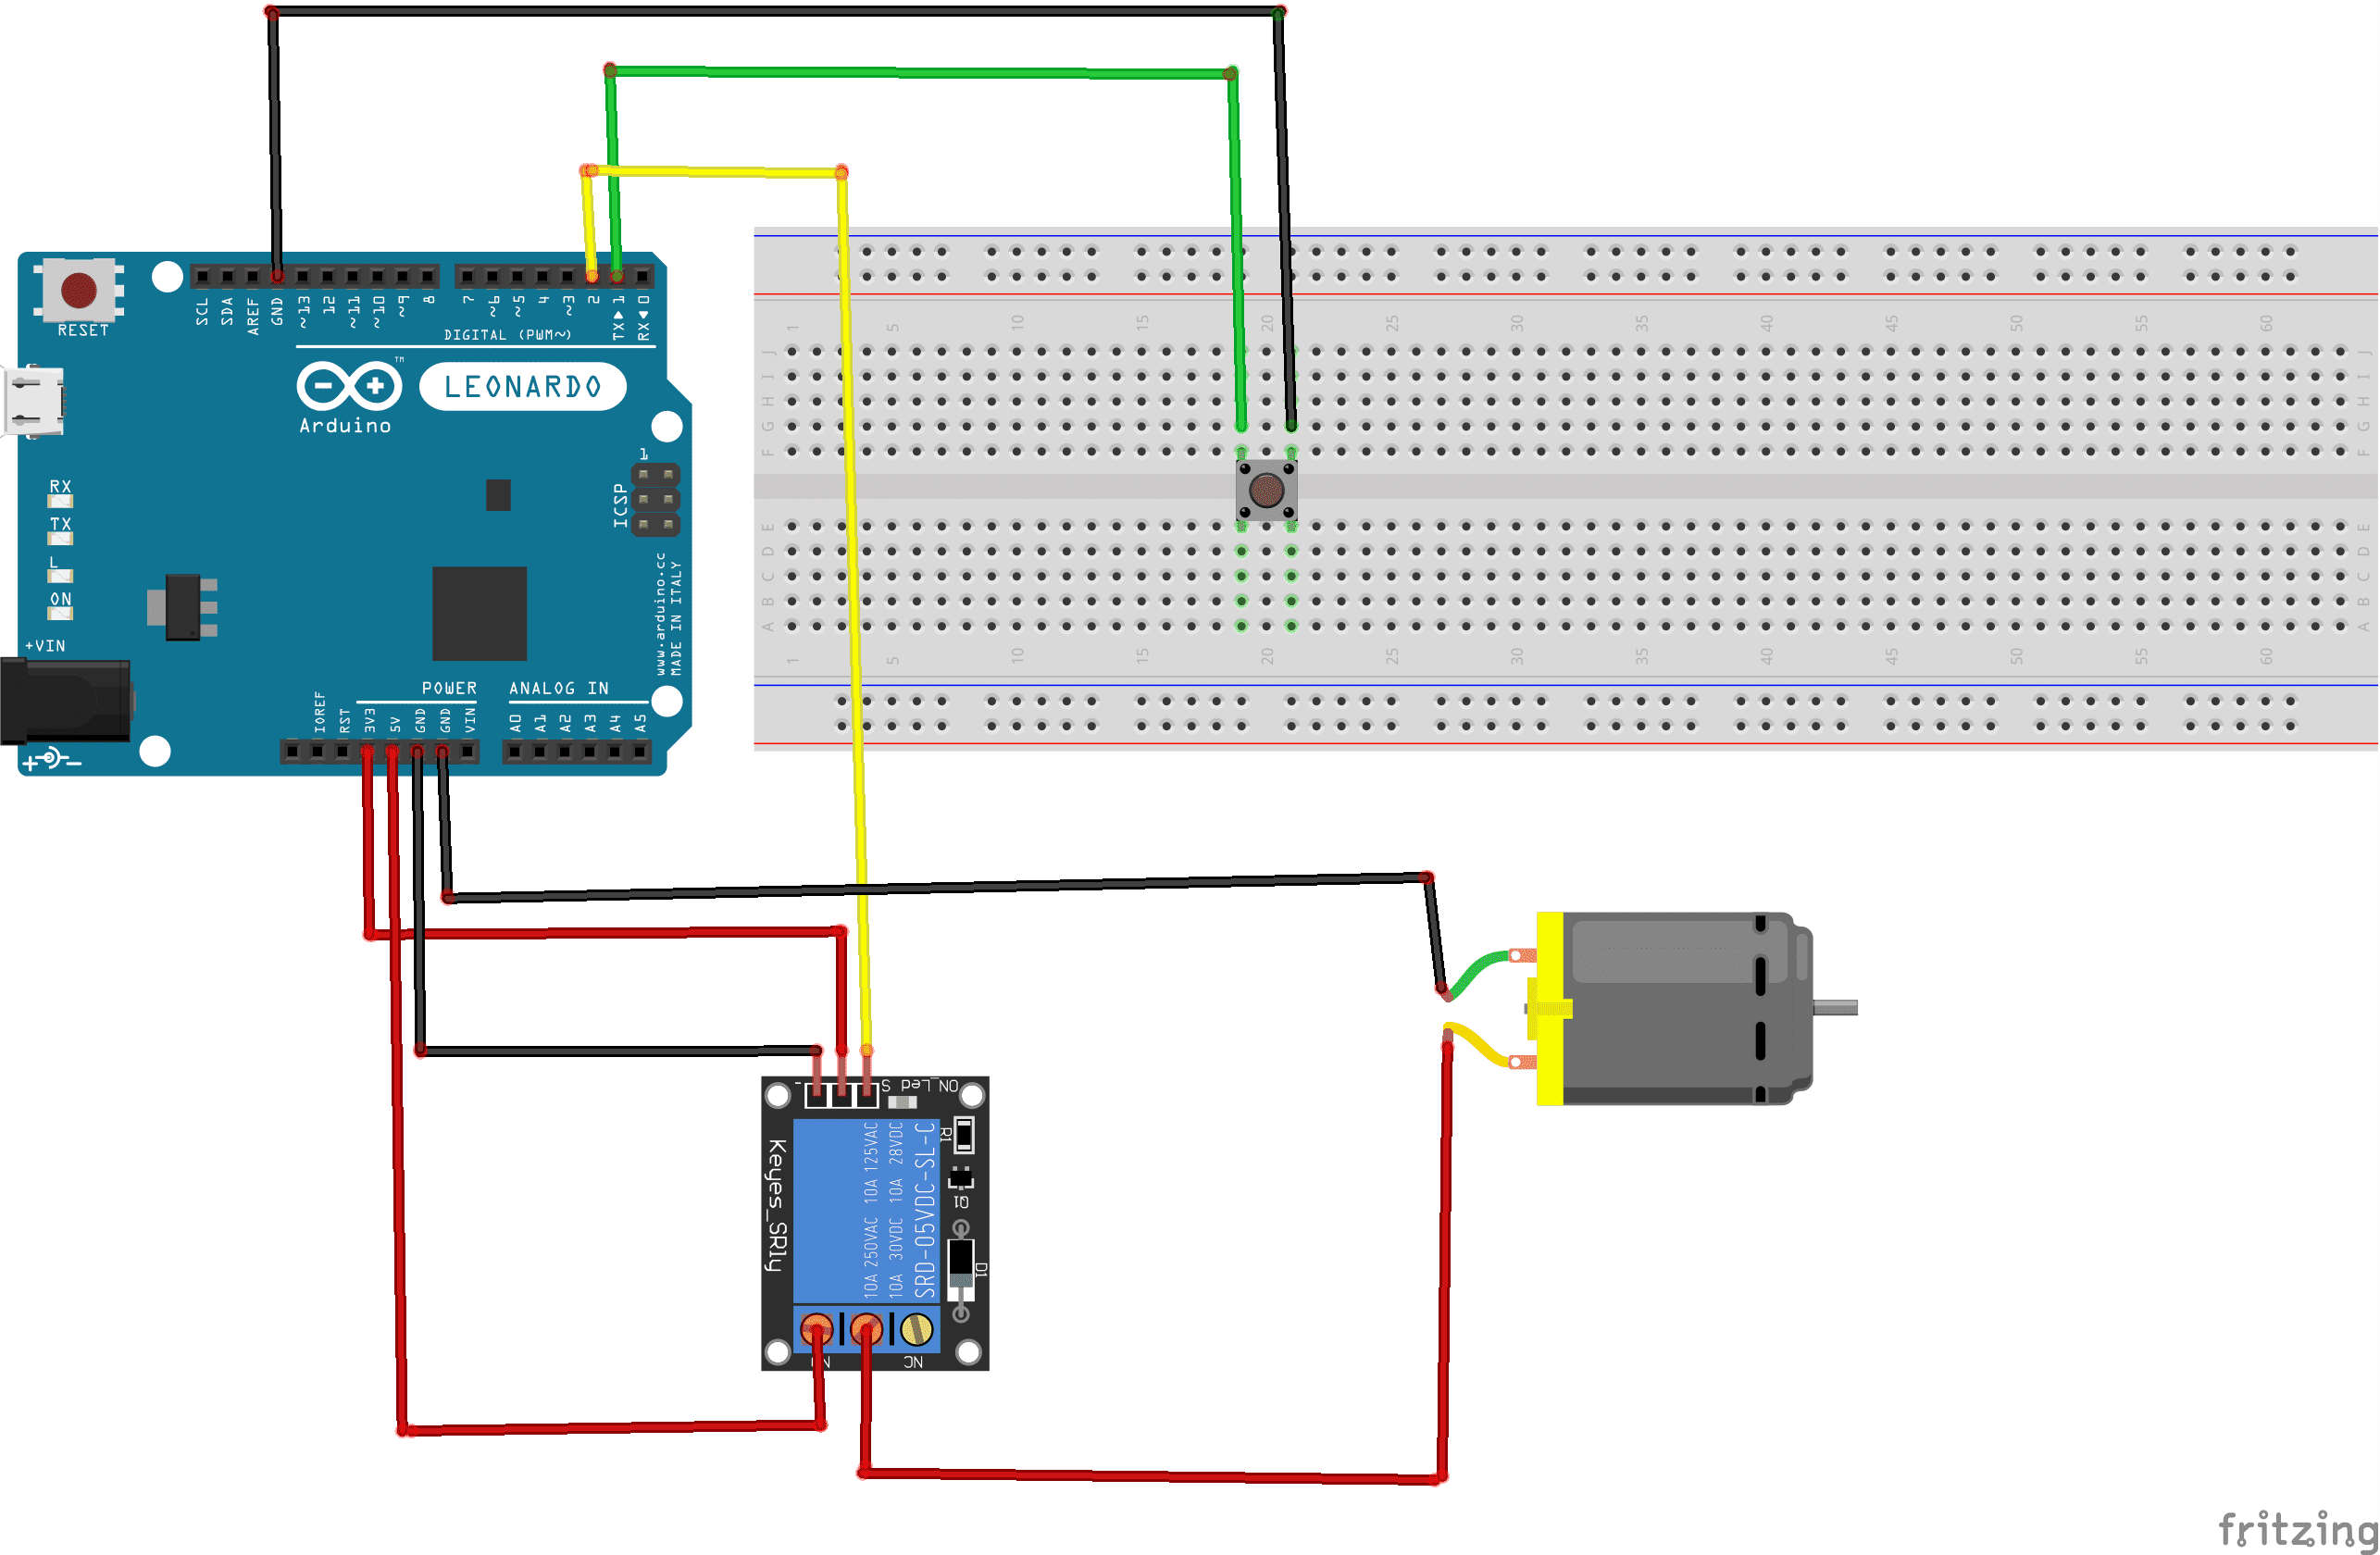
As for the assembly, we can connect
For relay:
- (S) pin to pin 2 of Arduino
- (+) pin to 3.3V pin of Arduino
- (-) pin to GND pin of Arduino
- ON pin to 5V of Arduino
For DC motor:
- the first terminal to COM pin of the relay
- the second terminal to GND terminal of the Arduino
For push button:
- the first terminal to the digital terminal N°1 of Arduino
- the second terminal to the GND terminal of Arduino
Program
Here is the program that allows to control a DC motor by Arduino.
|
1 2 3 4 5 6 7 8 9 10 11 12 13 14 15 16 17 18 19 20 21 22 |
const int bouton = 1; // the button is connected to pin 1 of the Adruino board const int relais_moteur = 2; // the relay is connected to pin 1 of the Adruino board int etatBouton; void setup() { pinMode(bouton, INPUT); pinMode(relais_moteur, OUTPUT); } void loop() { etatBouton = digitalRead(bouton); if (etatBouton == 0) // Push the push button { digitalWrite(relais_moteur, HIGH); // The motor starts to run } else // Release the push button { digitalWrite(relais_moteur, LOW); // The motor stops running } } |
You can also see

1 commentaire
Leave a comment


Recent tutorials


Most viewed tutorials


Most commented tutorials


Scroll to Top
Stefan 18-11-2121
My DC motor doesn't turn on at all. I did the exact same thing as you. But if I plug in a LED instead of the motor, the LED turns on. Any ideas why? I connected the relay directly to arduino board..