ESP32 Internet of things
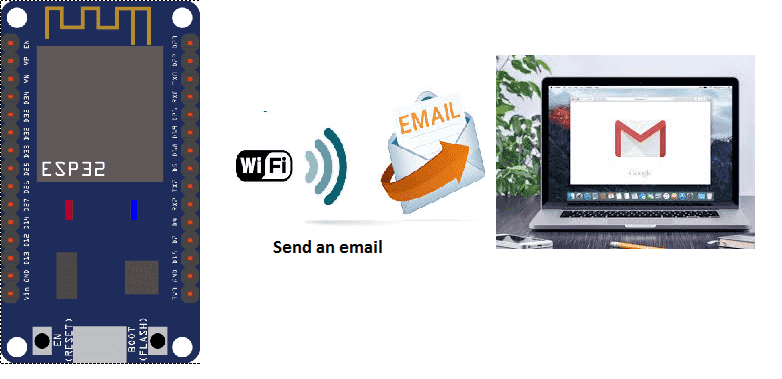
Sending an email by the ESP32
The Internet of Things with ESP32
The ESP32 is a popular choice for IoT (Internet of Things) projects due to its low cost, low power consumption, and built-in Wi-Fi and Bluetooth capabilities. The ESP32 can be programmed to connect to the internet and send or receive data, making it well-suited for a wide variety of IoT applications.
Some examples of IoT projects that can be built using the ESP32 include:
- Smart home automation systems that can be controlled remotely via a smartphone or web interface.
- Wireless sensor networks that can collect and transmit data such as temperature, humidity, and air quality.
- Remote monitoring and control systems for industrial equipment.
- Smart energy management systems that can control lighting, heating, and appliances.
- GPS tracking devices that can be used to track vehicles or other assets.
The ESP32 can also be used to build gateways that connect various devices to the internet, allowing them to communicate with each other and with other systems. It can also be used to build edge devices that can process data locally before sending it to the cloud.
When using the ESP32 for IoT projects, it’s important to consider the device’s power consumption and to use it in conjunction with other sensors and devices to build a complete IoT solution. Additionally, it’s important to ensure that the system is secure to protect against unauthorized access, data breaches and other security risks.
Sending Email with ESP32
The ESP32 can be programmed to send an email by connecting to an email server and sending an email message through the Simple Mail Transfer Protocol (SMTP). This can be done by using an SMTP library or a third-party service that allows the ESP32 to send emails through an API.
To send an email using the ESP32, the following steps can be followed:
- Connect the ESP32 to a Wi-Fi network.
- Install an SMTP library for the ESP32, such as ESP32 Email library.
- Define the email server and port settings, such as the SMTP server address and port number.
- Set up the email credentials such as the sender and receiver email address, username and password.
- Compose the email message and include the subject and body of the email.
- Connect the ESP32 to the email server and send the email.
It’s worth noting that some email servers require additional security measures such as SSL/TLS connections, and some providers do not support sending emails directly from a microcontroller, in that case, you can use a third-party service such as IFTTT or Adafruit IO that allows you to send an email by triggering an event or by making an API call to their platform.
Additionally, it’s important to keep in mind that sending emails through an ESP32 may consume a lot of power and may not be suitable for battery-powered devices.
Purpose of this tutorial:
In this tutorial we will send an email with the ESP32 card when a push button is pressed.
You must use an SMTP server that allows you to send an email through the ESP32 card.
Necessary components
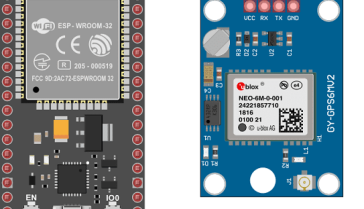
ESP32
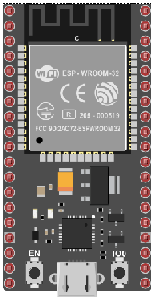
The ESP32 is a low-cost, low-power microcontroller with built-in Wi-Fi and Bluetooth capabilities. It is a popular choice for IoT projects and is commonly used for a variety of applications such as home automation, wireless control, and sensor data logging. The ESP32 features a dual-core processor, a rich set of peripherals, and support for a wide range of protocols. It can be programmed using the Arduino IDE and various other programming languages such as C, C++, and MicroPython.
Additionally, the ESP32 has a wide range of features including:
- A high-performance processor with a clock speed of up to 240 MHz
- Support for various types of wireless connectivity such as Wi-Fi, Bluetooth, and Bluetooth Low Energy (BLE)
- Multiple communication interfaces such as I2C, SPI, UART, and I2S
- A large number of GPIO pins to connect to external devices and sensors
- A built-in security module for secure communication
The ESP32 is often used in projects where a low-cost, low-power device with Wi-Fi and Bluetooth capabilities is needed, and it is commonly used with other sensors and devices to build IoT projects, home automation systems, wireless control systems, and data logging systems.
Pushbutton
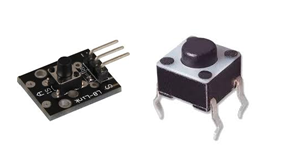
A pushbutton, also known as a switch or button, is a type of input device that is used to activate a circuit or signal. Pushbuttons are typically used to control electronic devices or to provide input to a computer or microcontroller.
Pushbuttons typically consist of a button that can be pressed, and a mechanism that activates a switch when the button is pressed. The switch can be a simple mechanical contact, or it can be an electronic switch such as a transistor or a microcontroller pin.
Connecting wires

Connecting wires refers to the process of physically connecting wires or cables to a device or circuit in order to establish an electrical connection. This can be done by using various connectors such as plugs, sockets, or terminal blocks. The wires are typically color-coded to indicate their function, such as red for power, black for ground, and yellow for signals.
Test plate

A test plate is a type of circuit board that is used to test electronic components. It typically consists of a flat board made of a non-conductive material, such as plastic or fiberglass, with a number of holes or pads that are used to connect electronic components. The test plate allows you to connect electronic components and test them easily.
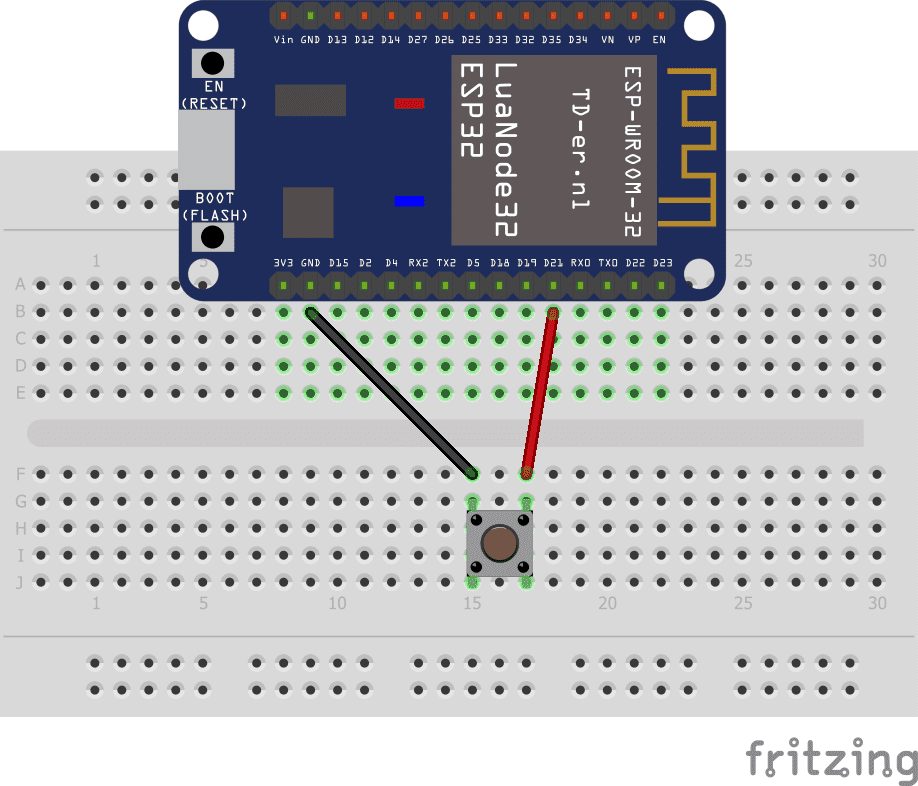
Mounting:
To perform the assembly, you can connect
-
the first tab of the push button at pin D21 of the ESP32 board
-
the second leg of the GND pushbutton on the ESP32 board
Program in micropython:
Note: you must import the two libraries: ConnectWifi.py and umail.py.
|
1 2 3 4 5 6 7 8 9 10 11 12 13 |
from machine import Pin button = Pin(21, Pin.IN, Pin.PULL_UP) import ConnectWifi ConnectWifi.connect() import umail while True: if not button.value(): #We press the button smtp = umail.SMTP('smtp.gmail.com', 587, username='adresse-émtteur@gmail.com', password='*********') smtp.to('adresse_recepteur@gmail.com') smtp.send("Message envoyé par la carte ESP32") smtp.quit() |
You can also see

1 commentaire
Leave a comment


Recent tutorials


Most viewed tutorials


Most commented tutorials


Scroll to Top
Ingo 06-05-2222
Hi! You've programmed a great and flexible solution. Would it be possible to include the subject and the Sender-name into the e-Mail script "umail"? Thank you