Scratch
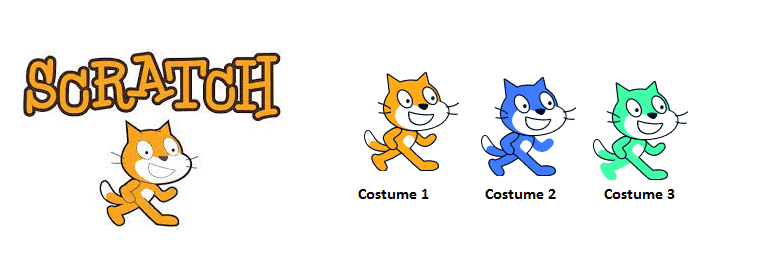
Change the sprite’s costume with Scratch
To change the costume of a sprite (the appearance of a character or object in your program) with Scratch, you can use the “set costume to [costume]” block.
Here’s an example of how you can use this block:
- Start a new Scratch project and add a sprite to the stage.
- In the “Costumes” tab, click the “Import” button to import a new costume for the sprite. You can use an image editor to create your own costume, or you can choose a costume from the Scratch library.
- In the “Scripts” tab, drag out a “set costume to [costume]” block and select the costume you want to use from the dropdown menu.
- You can then use this block to change the costume of the sprite when certain events happen, such as when the sprite is clicked on or when a key is pressed.
For example, you could create a script that changes the sprite’s costume every time the space key is pressed:
- Drag out a “when flag clicked” block and add a “when key pressed” block inside it.
- In the “when key pressed” block, select the space key from the dropdown menu.
- Add a “set costume to [costume]” block inside the “when key pressed” block and select the costume you want to use from the dropdown menu.
- Test your program by clicking the green flag and pressing the space key. The sprite’s costume should change every time you press the space key.
By using the “set costume to [costume]” block, you can easily change the appearance of your sprites in Scratch. You can use this block to create animations, change the way your sprites look, and add visual effects to your programs.
You can also see

0 commentaire
Leave a comment


Recent tutorials


Most viewed tutorials


Most commented tutorials


Scroll to Top